
Introduction
Peeling a hard‑boiled egg cleanly is one of those deceptively tricky kitchen tasks. You want that smooth, perfect white, not a torn, pitted mess. But legendary chef Jacques Pépin has a simple, clever trick that can turn peeling into a breeze. In this article, you’ll learn Pépin’s easy tip for perfectly peeled hard‑boiled eggs, the science behind why it works, and bonus pro hacks and troubleshooting for consistent success.
Why peeling hard‑boiled eggs is frustrating
At first glance, boiling eggs seems foolproof. But many home cooks have suffered the frustration of cracking into a boiled egg only to have chunks of the white come off with the shell. What causes this?
One main culprit is pressure buildup in the egg. Inside every egg is a tiny air pocket, usually located in the broader (rounder) end. As the egg heats, that trapped air expands. If it has nowhere to escape, it pushes outward, pressing the inner membrane tightly against the shell. When that happens, the membrane and shell cling to the cooked white underneath, making peeling rough and messy.
Another factor is the bond between the shell’s inner membrane and the egg white (albumen). If that bond is strong, they don’t separate easily. Also, overcooking or rapid temperature changes can intensify this adhesion and produce a greenish rim on the yolk (from sulfur reacting with iron). A sudden change in temperature (shock cooling) is often used to break that bond and help loosen the shell.
Because of these mechanical and chemical dynamics, even well‑boiled eggs can be a nightmare to peel—unless you intervene with a smart trick.
Jacques Pépin’s clever hack: poke a tiny hole in the egg
Pépin’s method is elegantly simple: before boiling, insert a very small pin or thumbtack into the broad end of the shell (where the air pocket sits). This lets the air escape more gradually as the egg heats up so that pressure does not build. With that pressure relieved, the membrane is less forced against the shell, making peeling far easier.
He describes this in his book Essential Pépin and shows the technique in cooking demonstrations.
Here’s how to do it step by step, plus tips to make it consistently effective.
Step‑by‑step: how to apply Pépin’s egg peeling hack
- Choose your eggs
Slightly older eggs (5–7 days old) peel more easily than super fresh ones because their pH changes over time, weakening the bond between the membrane and shell. Many chefs recommend using eggs that have been in your fridge a few days. (Fresh eggs tend to cling more tightly.) - Make the tiny hole
Hold the egg gently but firmly. Using a pin, thumbtack, pushpin, or a specialized egg piercer, poke a very small hole into the broad (round) end of the egg. Do not crack it or force a large break—just enough to pierce the shell and provide an escape path for air. This hole faces the air pocket inside. - Bring water to a gentle boil
Fill a pot with enough water to cover the eggs and bring it up to a gentle boil. Pépin advises avoiding a furious, rolling boil. He calls his version “hard‑cooked eggs” rather than “hard boiled,” emphasizing that you want a gentle simmer rather than violent agitation, which can lead to cracked shells or rubbery whites. - Add the eggs carefully
Gently lower the eggs into the boiling water (using a spoon or ladle) so they don’t crack from thermal shock or banging into the pot. - Cook for the right time
For fully hard‑cooked (hard‑boiled) eggs, Pépin suggests cooking about 10 minutes (once the water is at a gentle boil).
For softer eggs (mollet or soft‑boiled style), reduce the time (often around 7 minutes is a common target, though many people adjust slightly based on egg size and starting temperature). - Shock in ice water
Immediately remove the eggs from the hot pot and transfer them to a bowl of ice water or very cold water (ice bath). Let them rest for several minutes (10–15 is typical) to rapidly cool them. That thermal shock helps shrink the cooked egg white a bit, further loosening the membrane from the shell and halting the cooking process (to prevent overcooking). - Crack and peel
To peel, you can gently tap all around the shell to create fractures or use the spoon‑crack method (rolling on a surface or tapping with a spoon). Then peel, ideally starting from the hole you made. Many people peel under running water or submerged in water—this helps flush little shell fragments away and can help the shell slide off more smoothly. In his demonstration (for his recipe “Eggs Jeannette”), Pépin suggests cracking the shells by shaking the pan, then refreshing with cold water, then peeling under running water to get under the membrane.
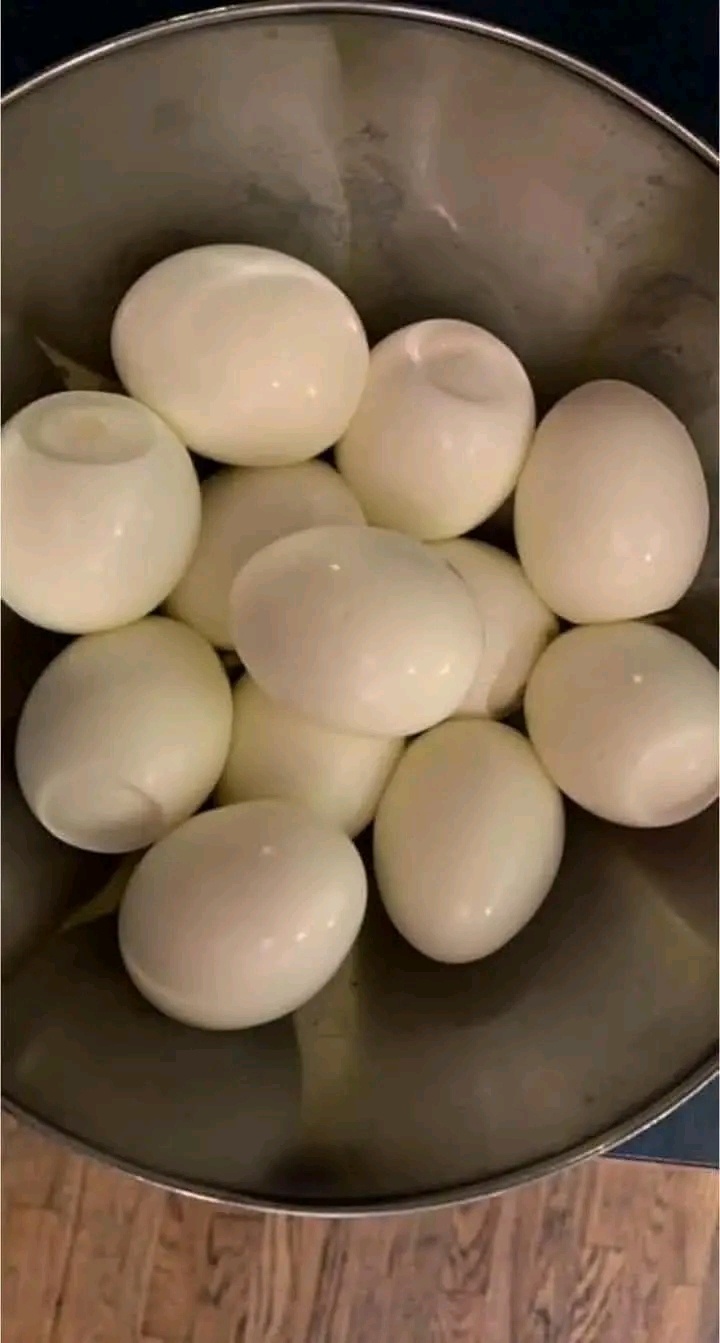
If done right, the shell should come away in large pieces, leaving a clean, smooth egg white underneath.
Why this hack works (the science behind it)
Air pocket pressure relief
By providing an escape path for the air trapped in the egg’s broad end, that expanding gas can vent rather than pushing outward against the inner membrane. This means the membrane is less forcibly pressed against the shell during heating, reducing adhesion.
Gentler cooking conditions
Because Pépin avoids aggressive boiling, less turbulence and pressure perturbations disturb the egg, reducing cracking risk and minimizing stress that could force white toward the shell.
Thermal contraction on cooling
Rapid cooling (ice bath) causes the cooked albumen (egg white) to contract slightly. That contraction helps separate it from the inner membrane, giving a loosened interface between the white and shell. That makes peeling easier.
Membrane‑shell adhesion reduction
Over time (as eggs age), the internal chemistry changes (pH shifts, membrane weakening). Combined with the pressure relief from the hole and the thermal shock, the bond between shell membrane and egg white is easier to break.
In effect, this hack addresses the root causes that make peeling difficult: pressure built inside, tight membrane adhesion, and inadequate separation caused by insufficient cooling or overly aggressive cooking.
Pro tips and variations to get perfect results
Use a specialized piercing tool
If you boil eggs often, you might invest in an egg pricker or egg piercer that makes consistent small holes. This reduces risk of cracking or making the hole too large.
Be very gentle with the piercing
The goal is a hair‑thin hole, not a crack. Take care not to press so hard that the shell fractures.
Adjust cooking time for large eggs
If your eggs are extra large, you may need to add 30 seconds to a minute of cooking time. Be cautious: overcooking leads to tougher whites and that unsightly green rim around the yolk.
Don’t skip the ice bath
Some methods just run cold water, but the shock effect of a proper ice bath helps dramatically with shell separation.
Peel under running or submerged water
Peeling underwater or under a thin stream helps dislodge tiny shell bits and lets water slip between the membrane and white, aiding separation.
Roll and crack technique
After cooling, gently roll the egg on a hard surface to crack shell all around before peeling. This helps start points of separation.
Spin test for doneness
Pépin also recommends a trick for checking whether an egg is cooked: spin it on a counter. A fully cooked (solid) egg will spin steadily like a top; a raw or undercooked egg with fluid interior will wobble.
Make in batches
If boiling many eggs, be consistent with piercing, timing, and cooling across your batch. Use a timer and be methodical.
Practice and consistency
Initially, it might take a few tries to get the right pressure, hole size, and timing. After a few attempts, it becomes second nature.
Troubleshooting common problems
Cracked eggs in boiling
If eggs crack while boiling, the hole may be too large or you’ve handled them roughly. Try making a smaller hole and lowering eggs gently using a spoon. Also, avoid thermal shock (don’t drop very cold eggs into rapidly boiling water).
Eggs peel poorly anyway
If you still get stuck bits, check these:
- The hole may have been missed or faulty.
- The eggs are extremely fresh (try slightly older eggs).
- The cooking time or temperature was too aggressive.
- The ice bath was too short or ineffective.
- You peeled after eggs warmed up again (do it while still cold or cooled).
Greenish yolk rim or sulfur odor
If you overcook, the sulfur compounds in the white react with iron in the yolk, creating a greenish ring. The ice bath and prompt removal from heat help prevent that. Also, gentle cooking helps avoid excess reaction. Pépin explicitly warns about not overcooking in his method.
Eggs with indentations or holes in white
If the piercing is too aggressive or cracked the interior membrane, you may see small defects in the egg white. Use finer tools and practice making minimal holes.
Why many other egg peeling hacks exist—and how Pépin’s stands apart
Over the years, many tricks have circulated: adding vinegar or baking soda to boiling water, shocking eggs with cold water, steaming eggs instead of boiling, soaking in water first, and more. Some of these work partly, but they don’t always reliably deliver clean peeling, especially with very fresh eggs or larger batches.
Pépin’s method stands out because it tackles the source of the problem (air pressure inside the egg) rather than only alleviating symptoms. By giving the trapped air a vent, the method prevents the subjecting of the membrane to strong adhesive pressure during cooking.
Numerous kitchen and food sites have tested the “pin the egg” method and report that it does indeed make peeling easier, especially under controlled cooking conditions.
Additionally, its elegance lies in its simplicity: no special chemicals, no weird soaking, just a tiny hole and standard boiling—yet an outsized payoff in peelability.
Real cook perspectives and validation
Home cooks on forums often lament peeling woes and share their wins with various hacks. Some mention trying Pépin’s method:
“According Jacques Pepin, the trick is to break the very thin membrane. If you gently pierce one end of the egg … the shell practically slips off on its own. Works for me most of the time lol.”
“I poke a hole in the bottom before boiling to prevent cracking. Then peel the egg with a spoon. It’s way easier.”
Many swear by ice baths, rolling and cracking, peeling while cold—practices consistent with the underlying logic of membrane separation.
These anecdotes echo the theoretical reasoning and align with Pépin’s instruction, reinforcing its effectiveness across real‑world conditions.
Applications: what to do with beautifully peeled eggs
Once your eggs peel cleanly, many dishes benefit:
- Deviled eggs: smooth halves make elegant presentations
- Egg salad: evenly chopped whites
- Niçoise salads, Cobb salads, or other composed plates
- Snack or packed lunches
- Garnish for soups or ramen
- Eggs Jeannette (Pépin’s mother’s recipe) uses peeled hard‑cooked eggs stuffed, sautéed lightly, and dressed.
With consistent peeling, your egg presentation becomes reliable and appealing.
Conclusion
Peeling hard‑boiled eggs doesn’t have to be a battle. Jacques Pépin’s simple trick—piercing the broad end of each egg before boiling—addresses the core challenge of pressure and adhesion, giving you eggs that peel nearly effortlessly. Combined with precise cooking, prompt chilling, and gentle handling, you can turn egg peeling from frustration to routine. Try it next time you boil eggs and you’ll likely never go back to the old method.
If you like, I can also provide you an infographic or printable “egg peeling cheat sheet” you can keep in your kitchen. Do you want me to prepare that?