
Ingredients
For the crust
• 2 ½ cups all‑purpose flour
• 1 teaspoon granulated sugar
• ¾ teaspoon salt
• 1 cup (2 sticks) cold unsalted butter, cut into small cubes
• ¼ cup cold vegetable shortening (optional, to lighten texture)
• 6 to 8 tablespoons ice water (adjust as needed)
For the filling
• 5 to 6 large apples (about 2.5 to 3 pounds), firm varieties such as Granny Smith, Honeycrisp, Braeburn, or a mix
• ¾ cup granulated sugar
• ¼ cup light brown sugar, packed
• 2 tablespoons all‑purpose flour (or cornstarch)
• 1 teaspoon ground cinnamon
• ½ teaspoon ground nutmeg (optional)
• ¼ teaspoon salt
• 2 tablespoons lemon juice (fresh)
• 1 teaspoon vanilla extract (optional)
• 2 tablespoons unsalted butter, cut into small pieces
For assembly / topping
• 1 egg, beaten (egg wash)
• 1 tablespoon granulated sugar (for sprinkling)
Equipment you’ll need
• 9‑inch (or 10‑inch) pie plate or shallow pie pan (flat style works well)
• Rolling pin
• Pastry cutter or forks (for blending butter into flour)
• Mixing bowls
• Sharp knife or apple corer / slicer
• Pastry brush
• Aluminum foil or pie shield (for crust edge)
• Wire rack
Preparation Steps
- Chill ingredients & plan ahead
Begin by chilling your butter, shortening (if used), and keeping your ice water ready in the refrigerator. Cold fat and cold water help produce a flaky crust. Also plan to chill the dough after mixing and before rolling. - Make the pie dough
In a large bowl, whisk together the flour, sugar, and salt. Add the cold butter cubes and shortening. Using a pastry cutter, two forks, or your fingertips (working quickly), cut the fat into the flour until the mixture resembles coarse crumbs, with some pea‑sized bits of butter remaining. Do not overwork—those little bits will create flakiness. Gradually drizzle in the ice water (start with 4 tablespoons), mixing gently until the dough just comes together. You may not need all the water, or you might need an extra tablespoon. The dough should be moist but not sticky. Divide into two equal portions, flatten each into a disk, wrap in plastic wrap, and refrigerate for at least 30 minutes (or up to 2 hours). - Prepare the filling
While the dough chills, peel, core, and slice the apples into even slices (about ⅛ to ¼ inch thick). Place slices in a mixing bowl. Add granulated sugar, brown sugar, flour (or cornstarch), cinnamon, nutmeg, salt, lemon juice, and vanilla. Toss gently to coat all the apple slices evenly. Let this mixture rest for 10–15 minutes so the apples release a little juice and the flavors meld. - Roll out bottom crust
Lightly flour your work surface and rolling pin. Remove one dough disk from the refrigerator, let it sit a minute to soften just enough to roll, then roll it into a circle about 12 inches in diameter (or large enough to fit your pan with 1 inch overhang). Carefully transfer it into your pie pan, pressing it gently into the bottom and sides. Trim any ragged edges leaving around a ½ inch overhang. - Fill and dot with butter
Pour the apple filling into the crust, pressing slightly to level it. Dot the filling with the small pieces of butter evenly. - Roll and place top crust
Roll out the second dough disk similarly, into a round. You can use it as a single round top crust with slits, or make decorative cutouts or a lattice pattern if desired. Carefully place it over the apples. Tuck the overhanging edge of the top crust under the bottom crust edge, and pinch or crimp to seal. Flute the edges as desired. Brush the top crust lightly with beaten egg, then sprinkle with granulated sugar for sparkle and crunch. - Venting
Cut a few slits into the top crust to allow steam to escape. Make sure vents are wide enough so filling doesn’t push up and crack the crust. - Bake
Preheat your oven to 400 °F (about 200 °C). Place the assembled pie on a baking sheet (to catch drips). Bake for 20 minutes, then reduce the oven temperature to 350 °F (175 °C) and bake for another 30 to 40 minutes, until the crust is golden and the filling bubbles. If the crust edges begin to brown too quickly, shield them with foil or a pie crust shield. - Cooling
Once done, remove the pie and place it on a wire rack. Allow it to cool for at least 2 hours (or more) before slicing. Cooling helps the filling set and prevents runny slices. - Slice and serve
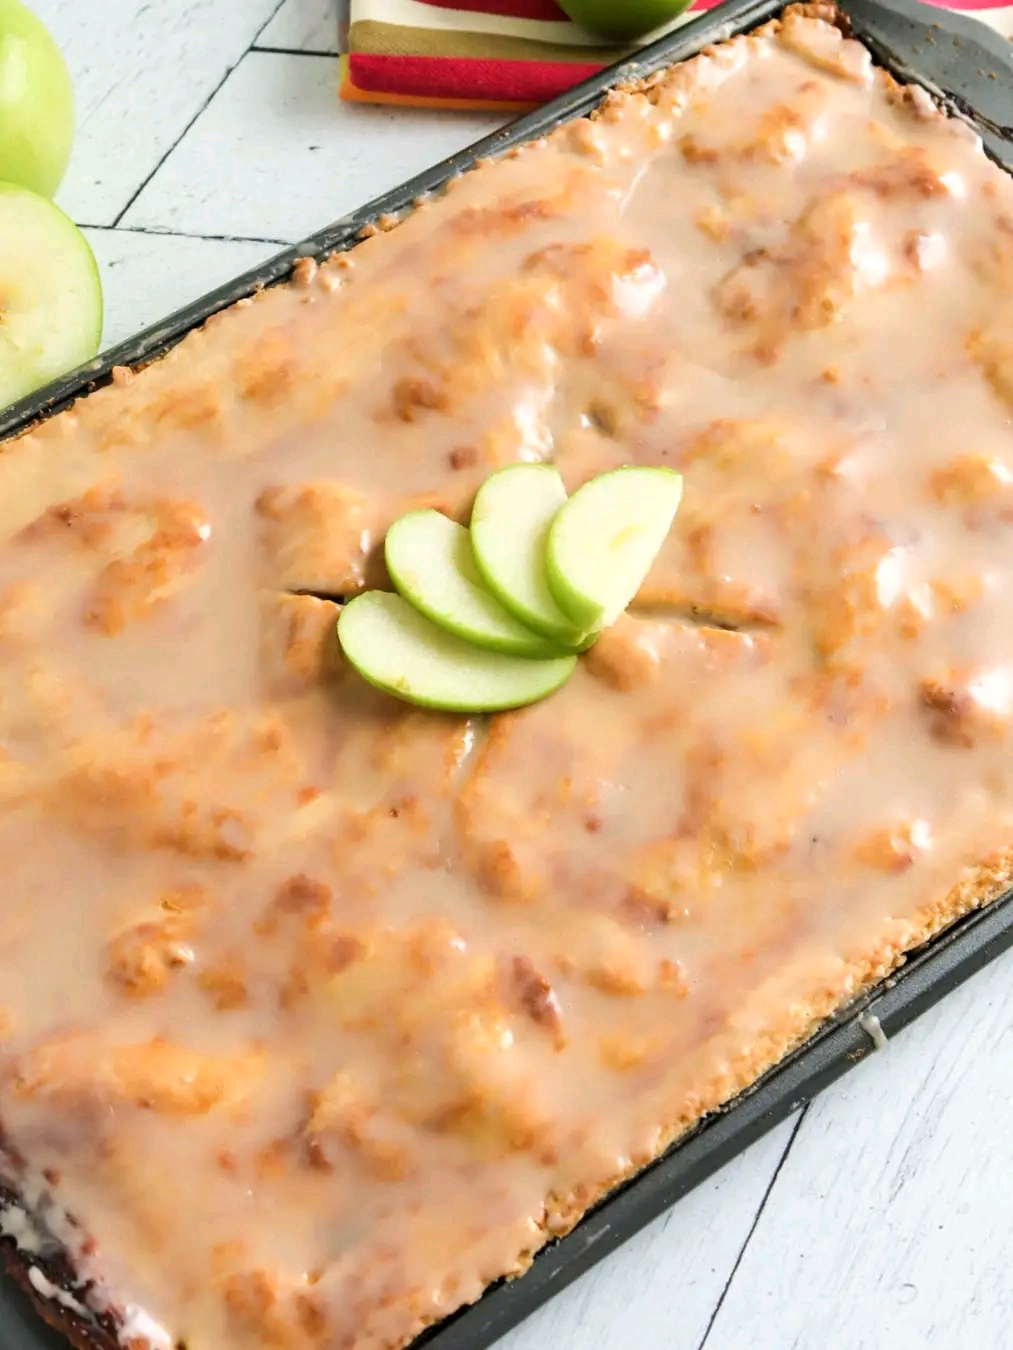
Use a sharp knife to cut generous wedges. Serve plain, or top with vanilla ice cream, whipped cream, or a drizzle of caramel.
Tips & Tricks for Best Results
Choose the right apples
Select firm, tart‑sweet apples that hold shape when baked. Granny Smith, Honeycrisp, Braeburn, Jonagold, or a blend gives complexity in taste and texture. Avoid overly soft apples that will turn mushy.
Balance sugars & acidity
The sugar must sweeten, but the lemon juice or optional dash of apple cider vinegar helps cut richness and brighten flavors.
Don’t overwork dough
Handling the dough too much warms the butter. Aim for flaky layers by leaving bits of fat intact and chilling dough often.
Rest filling
Letting the filled apples rest 10–15 minutes helps draw some juices and allows the thickeners (flour / cornstarch) to start working.
Use foil shield
Edges brown faster than centers; protect crust edges if needed mid‑bake.
Check bubbling
If the filling is bubbling through the vents, it’s a good indicator the pie is cooked through.
Cool fully
Don’t rush cutting. Let the pie rest so the filling firms. Slicing too early makes it run.
Variations & Enhancements
Spiced apple pie
Add a pinch of cloves, ground ginger, or cardamom to the filling for a warm spice blend.
Caramel apple twist
Stir 2–3 tablespoons of soft caramel sauce into the apple mixture before baking. Or drizzle caramel over slices when serving.
Streusel topping
Skip the top crust and instead bake with a crumble/strew topping of butter, flour, oats and brown sugar.
Skip top crust
Make an open‑face flat apple tart: roll dough thin, fill, and bake—almost like a galette.
Sugar alternatives
Substitute part of the sugar with maple syrup, honey, or coconut sugar, adjusting baking time slightly if needed.
Gluten‑free adaptation
Use a gluten‑free all‑purpose flour blend and ensure your thickener (e.g. cornstarch) is gluten free.
Vegan version
Use vegan butter or shortening and skip the egg wash or use non‑dairy milk as wash.
Serving & Pairing Suggestions
Warm slices with vanilla ice cream or a scoop of cinnamon ice cream
Serve with whipped cream lightly sweetened
Accompany with a drizzle of warm caramel sauce
Pair with a cup of coffee, tea, or milk
Storage & Reheating
At room temperature
Cover loosely with foil or plastic wrap; consume within 1–2 days.
In refrigerator
Store covered; pie stays good 4–5 days. Crust may soften slightly from moisture.
Freezing
After baking and cooling, wrap the entire pie (or individual slices) tightly in plastic wrap and foil. Freeze up to 2 months. To reheat, thaw overnight in refrigerator and warm in 325 °F oven for 15–20 minutes or until heated through.
Reheating
Preheat oven to 325–350 °F. Place slices on a baking sheet and reheat until warmed through (10–15 minutes). This restores crispness to the crust edges.
Troubleshooting Common Issues
Runny filling
May be due to undercooked thickener, too much liquid from apples, or cutting too early. Next time use more thickener (cornstarch) or allow for more bake time. Also ensure you vent properly and bake until bubbling.
Soggy bottom crust
Use a shallow pan, prebake bottom crust slightly (blind bake) or ensure bottom crust is thoroughly pressed to the pan so it doesn’t detach from filling. Baking on a hot sheet or preheating the pan can help.
Burned crust edges
Use foil or pie shield to protect edges mid‑bake.
Crust shrinks
Ensure dough is well chilled, rolls relaxed (let rest after rolling), and edges are properly crimped and anchored.
Uneven bake
Rotate the pie half‑way through baking to even exposure to heat.
Filling too dark
If the top browns too fast, reduce oven temperature slightly, or loosely tent with foil.
Too thick crust
Roll dough thinner (⅛ inch) for this flat version. Avoid overly generous crust thickness.
Lack of flavor
Don’t skip the pinch of salt; use fresh cinnamon / spices; include a touch of acidity like lemon juice to balance sweetness.
Extra Notes
Because this is a flat variation, the apple layer is closer to the top crust. That means shorter bake times, and more even penetration of heat. You don’t need a deep crater of apples; instead, a moderately generous filling ensures every bite has both crust and fruit.
This version is forgiving: you can adapt quantities slightly, or use store‑bought crusts if time is short (though you’ll trade some flavor). The real star is the filling—and the contrast between crisp, golden crust and tender spiced apples.
Also, feel free to experiment with other fruit combinations—pear, peach, mixed berries, or apple‑pear blends—all with similar technique.
Conclusion
Mom’s Flat Apple Pie is a nostalgic, crowd‑pleasing dessert that doesn’t demand overly complex technique but rewards you with deep flavor, great texture, and a slice of comfort. With a buttery, flaky crust and spiced apple filling that’s just sweet and complex, this pie is perfect for holidays, weekend gatherings, or any moment you want a little taste of home. Use the tips above to tailor to your ingredients, oven behavior, and preferences, and you’ll end up with a pie worth remembering.
If you like, I can format this article ready for publishing (with SEO headings), or convert to HTML. Do you want me to do that next?