
The Ultimate Homemade Pie Crust Recipe: Perfectly Flaky and Buttery Every Time
Making a homemade pie crust from scratch might seem intimidating, but with the right technique and ingredients, you can create a buttery, flaky crust that rivals any bakery. Whether you’re baking a classic apple pie, a savory quiche, or a rich chocolate tart, a well-made pie crust can make all the difference. In this guide, we’ll walk you through a foolproof homemade pie crust recipe, step-by-step tips, and troubleshooting advice to ensure success every time.
Why Homemade Pie Crust is Better Than Store-Bought
A homemade pie crust is far superior to store-bought versions for several reasons. First, it has a fresher, richer flavor because it’s made with real butter and no preservatives. Second, the texture is unbeatable—when done correctly, a homemade crust is crisp, flaky, and melts in your mouth. Lastly, making your own crust allows you to control the ingredients, avoiding artificial flavors and unnecessary additives.
Essential Ingredients for a Perfect Pie Crust
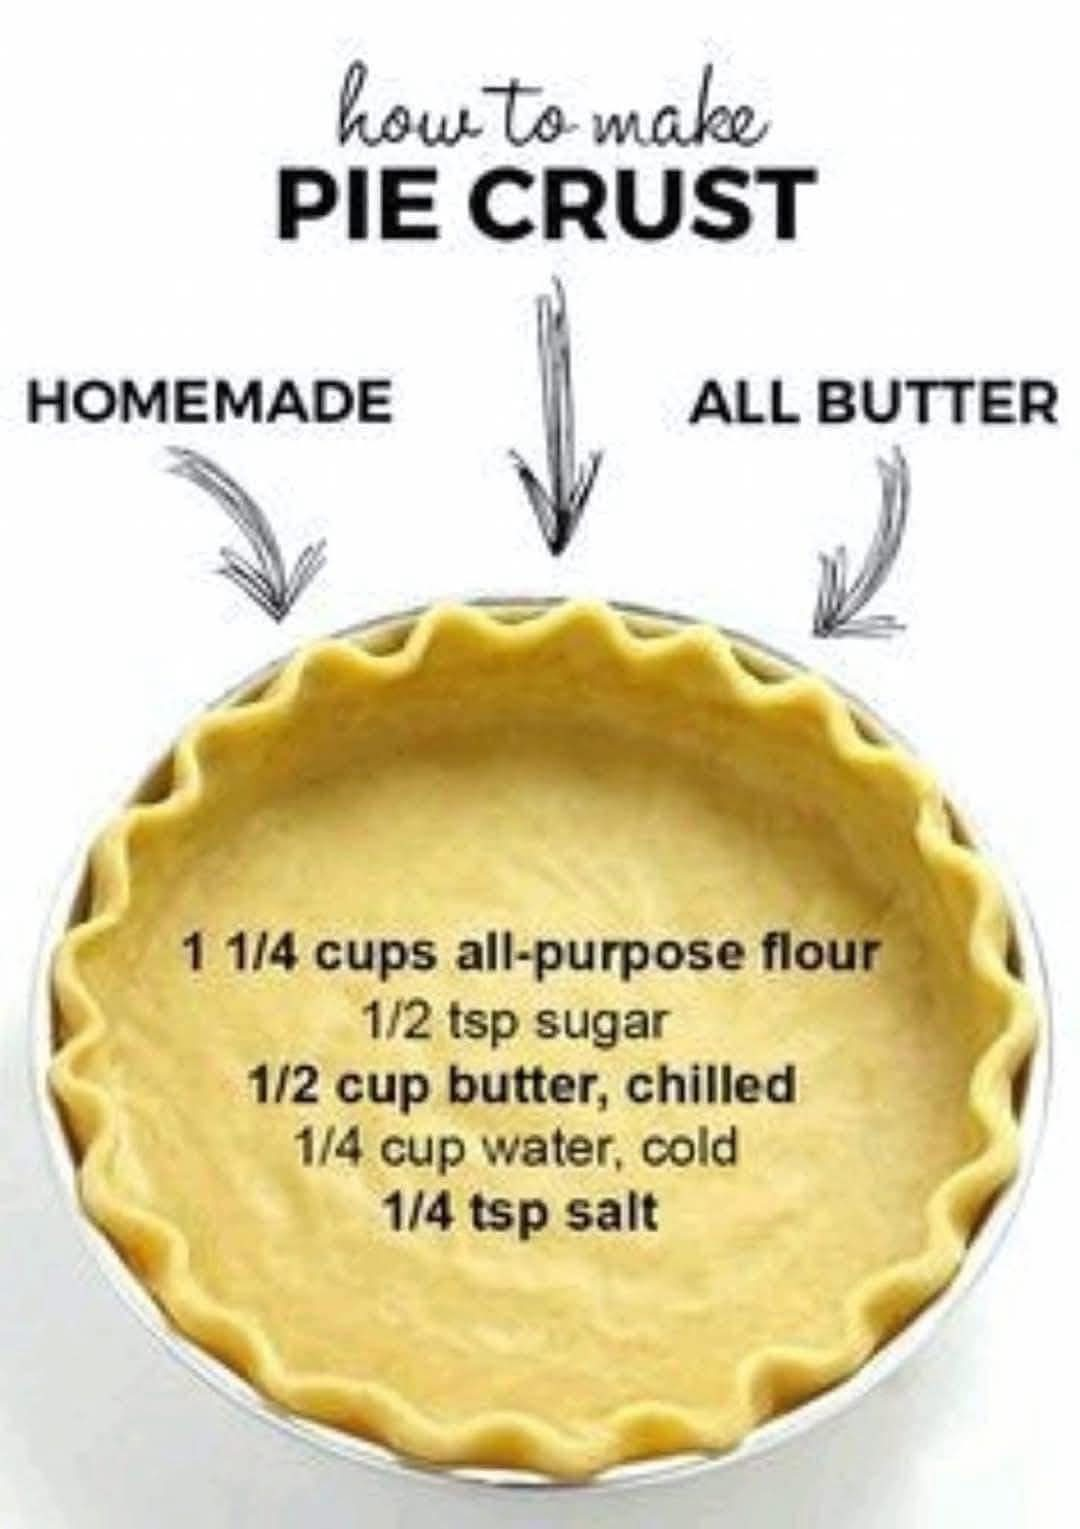
For a classic, foolproof pie crust, you only need a few basic pantry staples:
- All-Purpose Flour (2 ½ cups / 315g): Provides the structure of the crust. Use unbleached flour for the best texture.
- Salt (1 tsp): Enhances the flavor of the crust. If making a sweet pie, keep the salt to balance the taste.
- Sugar (1 tbsp, optional): Helps brown the crust and adds a subtle sweetness. Omit for savory pies.
- Cold Unsalted Butter (1 cup / 226g, diced): The key to a flaky crust. Using cold butter ensures that the fat stays solid until baking, creating tender layers.
- Ice Water (6-8 tbsp): Hydrates the dough without making it too wet. Ice-cold water helps keep the butter from melting during mixing.
Step-by-Step Guide to Making the Best Homemade Pie Crust
1. Mixing the Dry Ingredients
Start by whisking together the all-purpose flour, salt, and sugar in a large mixing bowl. This ensures that the ingredients are evenly distributed, which helps create a uniform dough.
2. Cutting in the Butter
Add the cold, diced butter to the flour mixture. Using a pastry cutter, two forks, or your fingertips, work the butter into the flour until the mixture resembles coarse crumbs with pea-sized pieces of butter. These small butter pockets will create steam while baking, resulting in a beautifully flaky crust.
3. Adding Ice Water
Drizzle in the ice-cold water, one tablespoon at a time, while gently mixing with a fork. Stop adding water once the dough just starts coming together. You don’t want it to be sticky—just moist enough to hold its shape when pressed together. Overmixing can lead to a tough crust, so handle the dough as little as possible.
4. Forming and Chilling the Dough
Turn the dough onto a floured surface, divide it in half, and shape each half into a flat disk. Wrap the disks tightly in plastic wrap and refrigerate for at least 30 minutes (or up to 2 days). Chilling allows the gluten to relax and prevents the butter from melting too soon.
5. Rolling Out the Dough
Lightly flour your work surface and rolling pin. Roll the dough out from the center outward, rotating the dough as you go to ensure even thickness. Aim for about ⅛ inch thickness. If the dough starts to crack or stick, sprinkle a little more flour as needed.
6. Assembling the Pie
Place the rolled-out dough into a pie dish, gently pressing it into the bottom and sides. If making a double-crust pie, add your filling, then roll out the second disk and place it on top. Trim any excess dough, leaving about a ½-inch overhang. Crimp the edges using your fingers or a fork to seal the crust.
7. Baking the Pie Crust
Follow the baking instructions for your specific pie recipe. Some pies require blind baking (pre-baking the crust before adding the filling) to ensure crispness. To blind bake, prick the bottom of the crust with a fork, line it with parchment paper, and fill it with pie weights or dried beans. Bake at 375°F (190°C) for about 15 minutes, remove the weights, and bake for another 5-10 minutes until golden brown.
Pro Tips for a Flaky Pie Crust
- Keep Everything Cold: Cold butter and ice water are crucial. You can even chill your mixing bowl, rolling pin, and hands if working in a warm kitchen.
- Don’t Overwork the Dough: Overmixing activates gluten, which makes the crust tough rather than tender.
- Use a Food Processor for Speed: If you’re short on time, a food processor can quickly cut the butter into the flour. Just pulse a few times and avoid over-processing.
- Chill the Dough Before Rolling: This prevents the butter from melting too soon, ensuring a flakier crust.
- Use an Egg Wash for a Golden Finish: Brush the crust with a beaten egg before baking for a beautiful golden color.
Common Pie Crust Mistakes and How to Fix Them
- Dough is Too Dry and Crumbly: Add a tiny bit more ice water, one teaspoon at a time, until it comes together.
- Dough is Too Sticky: Sprinkle a bit more flour while rolling, but avoid adding too much.
- Crust Shrinks in the Oven: Make sure to chill the crust before baking and avoid stretching it when placing it in the pie dish.
- Crust is Too Tough: This happens when the dough is overworked. Next time, mix just until combined.
Variations on a Classic Pie Crust
While this classic butter crust is perfect for most pies, you can experiment with variations:
- All-Butter vs. Shortening Crust: Some bakers swear by adding vegetable shortening for extra tenderness. Try replacing half the butter with shortening for a softer texture.
- Gluten-Free Pie Crust: Substitute all-purpose flour with a gluten-free blend designed for baking. Add an extra tablespoon of water if needed.
- Whole Wheat Pie Crust: Replace half of the all-purpose flour with whole wheat flour for a slightly nutty flavor.
Pie Recipes to Try with Your Homemade Crust
Now that you have the perfect pie crust, try it with these delicious fillings:
- Classic Apple Pie: A spiced apple filling with a golden, flaky crust.
- Pumpkin Pie: A creamy, spiced filling perfect for fall.
- Chicken Pot Pie: A savory version with a creamy chicken and vegetable filling.
- Chocolate Silk Pie: A rich and decadent dessert.
- Lemon Meringue Pie: A tangy lemon curd topped with fluffy meringue.
Storing and Freezing Pie Dough
You can store pie dough in the refrigerator for up to 2 days. If you want to prepare ahead, freeze the dough disks for up to 3 months. To use, thaw in the fridge overnight before rolling out.
Final Thoughts
A homemade pie crust is one of the most rewarding baking skills you can master. Not only does it taste better than store-bought, but it also gives you complete control over the ingredients. With this foolproof recipe and expert tips, you’ll be able to create pies with a perfectly flaky, buttery crust every time. Whether you’re making a holiday pie or a simple weeknight dessert, this homemade crust will always be a winner. Try it out and enjoy the magic of baking from scratch!